Create Text-only Menu Background and Mask in GIMP
This topic shows how to use GIMP to create a background and a mask for a text-only DVD menu.
Project Directory
You need a directory to store the source images and the DVDBuilder project. This can be anywhere on your machine. For example create C:\TextTitleMenuDVD directory. We will refer to that as the DVD Project Directory.
Create Menu Background
We will create a GIMP project that has all required layers that are needed for the DVD menu. At the time of writing the latest available GIMP version was 2.8.14.
Background Image
Download the image AquaBlue.jpg from the Internet Archive to the DVD Project Directory.
The size of AquaBlue.jpg is 1600 x 1024 which is roughly 16:10 width to height ratio. That must be cropped to 720 x 480 for the NTSC system. We can do the dropping in GIMP.
- Open the
AquaBlue.jpgimage in GIMP 2. GIMP will create a new project for you. - Crop it to width x height: 1440 x 960, i.e. double the NTSC resolution of 720 x 480.
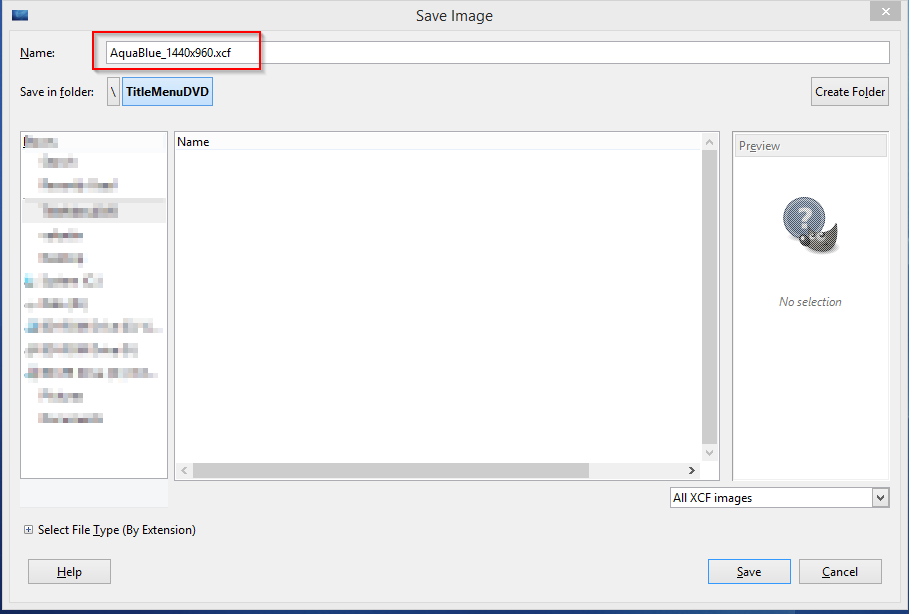
- Save the GIMP project as
AquaBlue_1440x960.xcf.


Scale Background to 720×480 (NTSC)
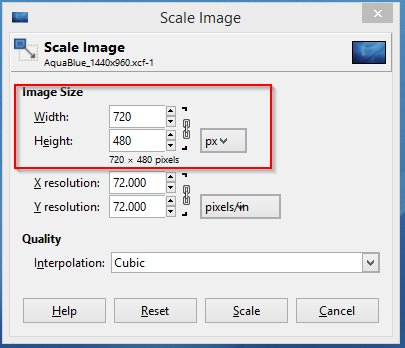
- Open
AquaBlue_1440x960.xcfin GIMP - Scale the image to 720×480
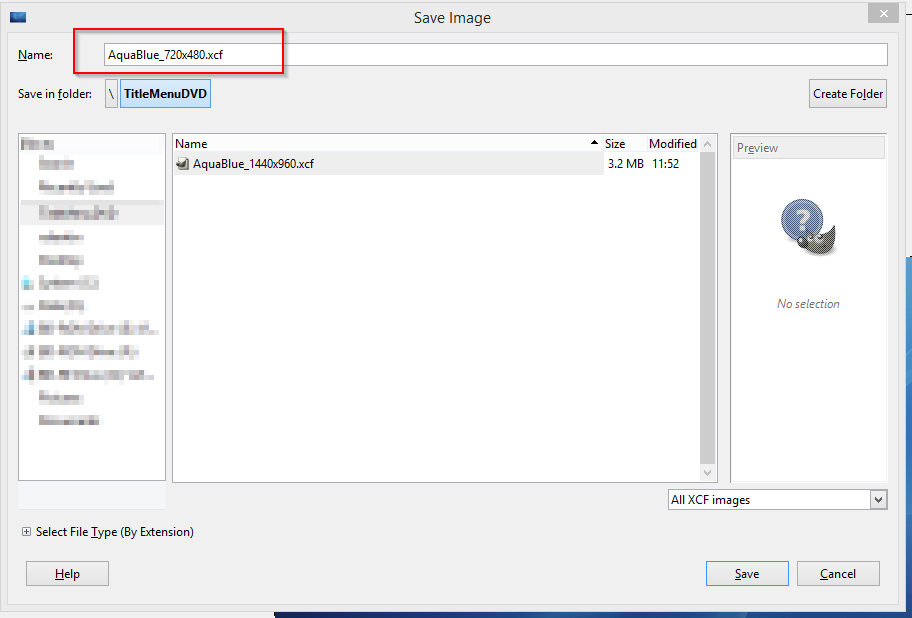
- Save the project as
AquaBlue_720x480.xcf - Rename the
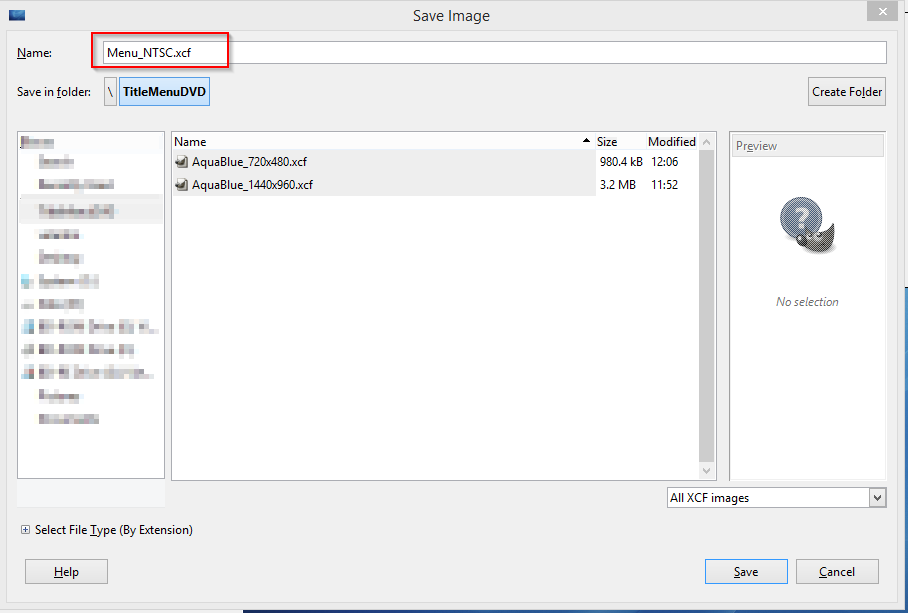
AquaBlue.jpglayer toBackground - Save the project one more time as
Text_Menu_NTSC.xcf


MenuBackground Layer Group
- Open
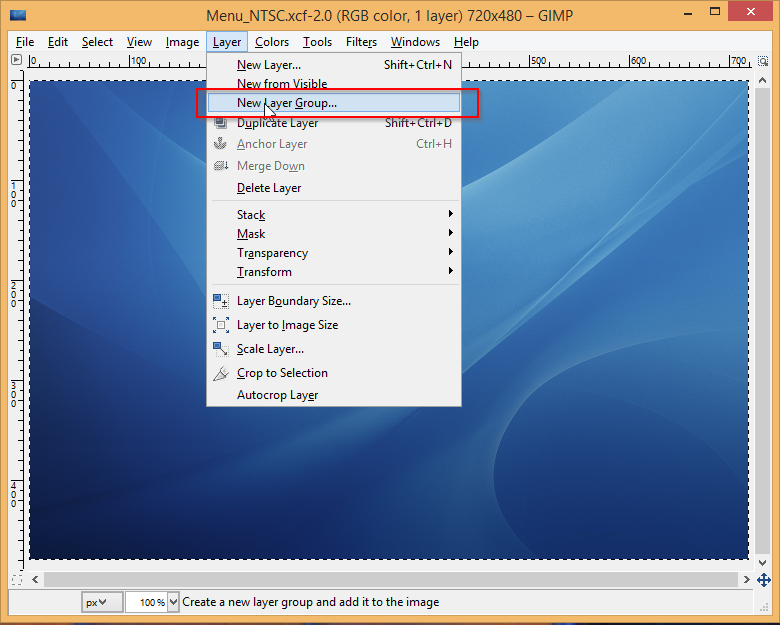
Text_Menu_NTSC.xcfin GIMP - Create a new layer group with a name
MenuBackground - Move the
Backgroundlayer to theMenuBackgroundlayer group - Save
Text_Menu_NTSC.xcf


Export Background As JPEG
- Open
Text_Menu_NTSC.xcfin GIMP - Export as
Text_Menu_NTSC.jpg


Here is the final background image:

Create Menu Mask
MenuMask, DisplayPattern, SelectionPattern, and BackgroundPattern Layers
- Open
Text_Menu_NTSC.xcfin GIMP - Create a new layer group with a name
MenuMask. Place that above the existingMenuBackgroundlayer group. - In the
MenuMasklayer group, add a new layer group with a nameDisplayPattern. -
- In the
MenuMasklayer group, add a new layer group with a nameSelectionPattern.
- In the
- In the
MenuMasklayer group, add a new layer with a nameBackgroundPattern - In the
MenuMasklayer group, rearrange the layers from top to bottom in this order:DisplayPattern,SelectionPattern,BackgroundPattern - Save
Text_Menu_NTSC.xcf


Display Pattern
- Open
Text_Menu_NTSC.xcfin GIMP - Select the
DisplayPatternlayer group - Using the Selection tool, select a rectangular area at position 170 x 200, and size 120 x 50.
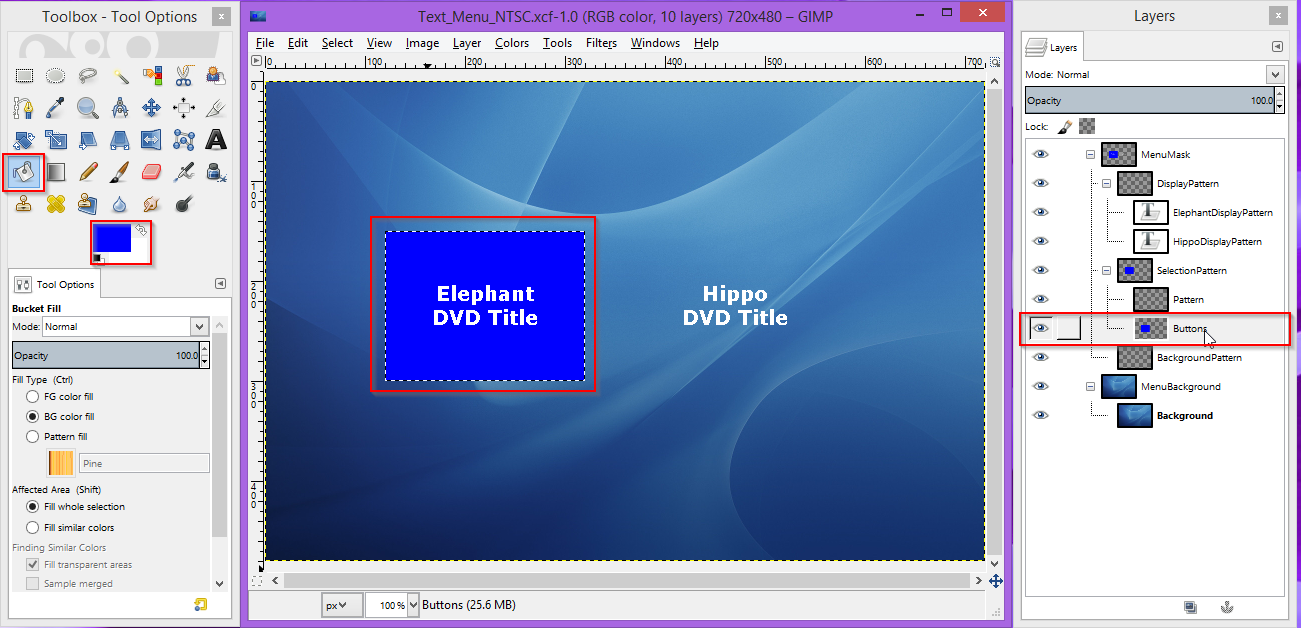
- Type the text “Elephant DVD Title” on two lines, using the Text tool, “Sans” Font, Font Size 20, Bold Face, No Anti-aliasing, and White (HTML Notation: ffffff) color.
- GIMP will create a new text layer. Rename the text layer to
ElephantDisplayPattern - Repeat steps 3. 4. and 5. but this time select a rectangular area at position 410 x 200, and size 120 x 50, type the text “Hippo DVD Title”, and finally name the text layer
HippoDisplayPattern. - In the
DisplayPatternlayer group, rearrange the layers from top to bottom in this order:ElephantDisplayPattern,HippoDisplayPattern. - Save
Text_Menu_NTSC.xcf


Selection Pattern
- Open
Text_Menu_NTSC.xcfin GIMP - In the
SelectionPatternlayer group, add a new layer with a namePattern - In the
SelectionPatternlayer group, add a new layer with a nameButtons - In the
SelectionPatternlayer group, rearrange the layers from top to bottom in this order:Pattern,Buttons. - Save
Text_Menu_NTSC.xcf

Buttons Layer
The Buttons layer will not be visible on the final mask, but it is nice to have it at design time, so we can see the button highlight rectangles.
- Open
Text_Menu_NTSC.xcfin GIMP - Select the
Buttonslayer - Using the Selection tool, select a rectangular area at position 120 x 150, and size 200 x 150.
- Using the Fill tool, fill the selection with blue (HTML Notation: 0000ff) color.
- Repeat steps 3. and 4. but this time select a rectangular area at position 370 x 150, and size 200 x 150.
- Save
Text_Menu_NTSC.xcf

Pattern Layer
- Open
Text_Menu_NTSC.xcfin GIMP - Select the
Patternlayer - Using the Selection tool, select a rectangular area at position 120 x 280, and size 200 x 20.
- Using the Fill tool, fill the selection with green (HTML Notation: 00ff00) color.
- Repeat steps 3. and 4. but this time select a rectangular area at position 370 x 280, and size 200 x 20.
- Save
Text_Menu_NTSC.xcf


Background Pattern
- Open
Text_Menu_NTSC.xcfin GIMP - Select the
BackgroundPatternlayer - Using the
Filltool, paint the whole layer in black - Save
Text_Menu_NTSC.xcf

Export Mask As Windows Bitmap
- Open
Text_Menu_NTSC.xcfin GIMP - Select the
MenuMasklayer group - Deselect the
Buttonslayer - Deselect the
MenuBackgroundlayer group - Export as
Text_Menu_NTSC_Mask.bmp. In the advanced export options select the 24-bit option.
Here is the final mask image:

Last updated on May 19th, 2015 12:00:00 AM